
This a tutorial about how to create a WebLogic Data Source.
1.
Log
in to WebLogic Admin console.
2.
Click “Lock & Edit” in the left pane.
3.
Under “DOMAIN STRUCTURE” on the left, Drill down
and click “Services -> Data Sources”
4.
On
the right, click “NEW” (it has a drop-down arrow) -> “GENERIC DATA SOURCE” 
5.
There are three things to be filled out in the
next screen - Name, JNDI Name, and Database Type. Fill them out as per your
requirement and click NEXT.
6.
For Database Drive, choose the one as per
requirement. In my case, I have chosen “Oracle’s Driver (Thin) for Instance
Connection.” Click Next. 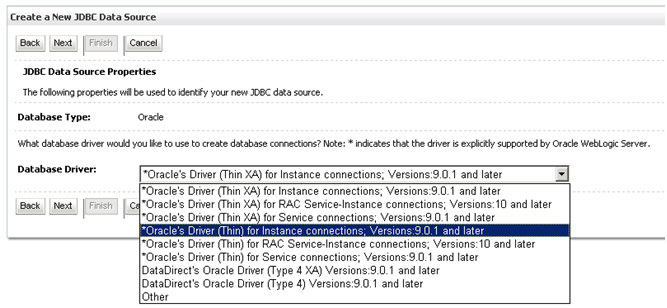
8.
On
the screen that follows, enter the DATABASE NAME, HOST NAME, PORT, DATABASE
USER NAME, and PASSWORD. Click NEXT.
9.
We
will get the following “TEST DATABASE CONNECTION” screen where we can test the
configuration. 

11. Click
FINISH.
No comments:
Post a Comment